


By Tetiana Stoyko
- CTO & Co-Founder
How to Code a Desktop App Using Electron
Let’s talk about Electron, examine what can it be used for, and how to build a desktop app with it. Additionally you'll get a guide on how to code with it.
Surprisingly, somehow Electron skipped most public attention. It is much easier to find a comparison between Next.js vs React, or a discussion about the advantages and drawbacks of Angular or Vue, rather than an article about the Electron framework.
Thus, to make everything fair let’s talk about this framework, examine it in detail, and figure out how it can be used for custom software development service, and if it is worth attention.
What is Electron.js?
Electron is a software development framework, that is based on JavaScript and is designed for developing cross-platform desktop applications. Therefore, if you develop your application with the use of Electron, most likely you will be able to adjust it for other OS as well.
Moreover, Electron.js can not only use JavaScript libraries but also supports HTML and CSS programming languages. Therefore, commonly Electron-based applications perform and feel more like Web apps, rather than Native ones.
The only clear difference between web and Electron applications is that these cross-platform apps can not only download files but also have access to the OS file system, i.e. they have more options for working with data directly, reading, or writing it.
The cross-platform nature of the applications is possible thanks to the Chromium engine, which is mostly used for rendering UI elements. Yet, this tool also gives access to various beneficial developer tools.
Advantages and Drawbacks
Actually, we can make a shortlist of Electron’s pros and cons. The specifics of this framework are very easy to understand and do not require a more detailed explanation.
Pros
- Cross-platform nature, which helps to simplify the process of adjusting applications to various platforms.
- The framework is understandable. It requires only a little effort such as examining the main working principles. Most other processes are intuitive and probably each JavaScript developer can easily operate them without any additional custom development tools or courses.
- Chromium toolset, which gives a variety of additional solutions and instruments. Moreover, it is a very fast-working engine.
Cons
- Electron is a very resource-intensive framework. The flip side of the engine, it is based on, is the fact that it requires much more space, compared to alternatives. Thus, make sure you won’t be surprised if a simple “Hello World” test application will take around 100 megabytes.
- Cross-platform adjustments. Frankly speaking, Electron-based apps are not fully cross-platform. They obviously have such an opportunity, yet it is not by default. Hence, it will still take some time and effort to adjust the application for other OSs. Usually, the most common issue is that developers use platform-specific dependencies, which must be changed, depending on the platform.
How to Build an Electron Desktop Application
In one of our Electron cases, we used its compatibility with JavaScript libraries. To be more specific, we used a combination of Electron and React.
The specifics of the project allowed us to use this front-end library in order to build desktop app with Electron, ensuring a maintainable, modular, and standalone architecture, as well as the opportunity to proceed to work with the product in collaboration with other developers. Therefore, let’s examine some code samples of our desktop application.
Electron Code Samples
First of all, we need to create a react-app:
npx create-react-app test-electron
 Click to expand
And install our Electron:
npm install electron --save-dev
Now we start to initialize the Electron.
In the public folder create an “electron.js” file:
const { app, BrowserWindow } = require('electron');

let mainWindow;

const createWindow = () => {
   mainWindow = new BrowserWindow({
       width: 800,
       height: 600,
   });

   mainWindow.loadURL('http://localhost:3000');

   mainWindow.webContents.openDevTools({ mode: 'detach' });

};

app.whenReady().then(createWindow);

app.on('window-all-closed', () => {
   if (process.platform !== 'darwin') {
       app.quit();
   }
});
So first we created a “createWindow()” function that loads our localhost into a new “BrowserWindow” instance and opened devtools. Next, we called the “createWindow()” function to open our window.
In Electron, browser windows can only be created after the app module’s are initialised. We can wait for this process to end by using the “app.whenReady()” API. Call “createWindow()” after “whenReady()” resolves its Promise.
For running the local server we also need wait-on
npm install wait-on
“Wait-on” is a utility that will wait for various resources to become (un)available or for different responses.
And write some scripts in package.json:
"main": "public/electron.js",
"scripts": {
   "start": "export BROWSER=none && react-scripts start",
   "start-electron": "wait-on tcp:3000 && electron .",
   "build": "react-scripts build",
   "test": "react-scripts test",
   "eject": "react-scripts eject"
 },
In “main” we put the path to our electron.js file. “BROWSER=none” is needed to disable the open browser.
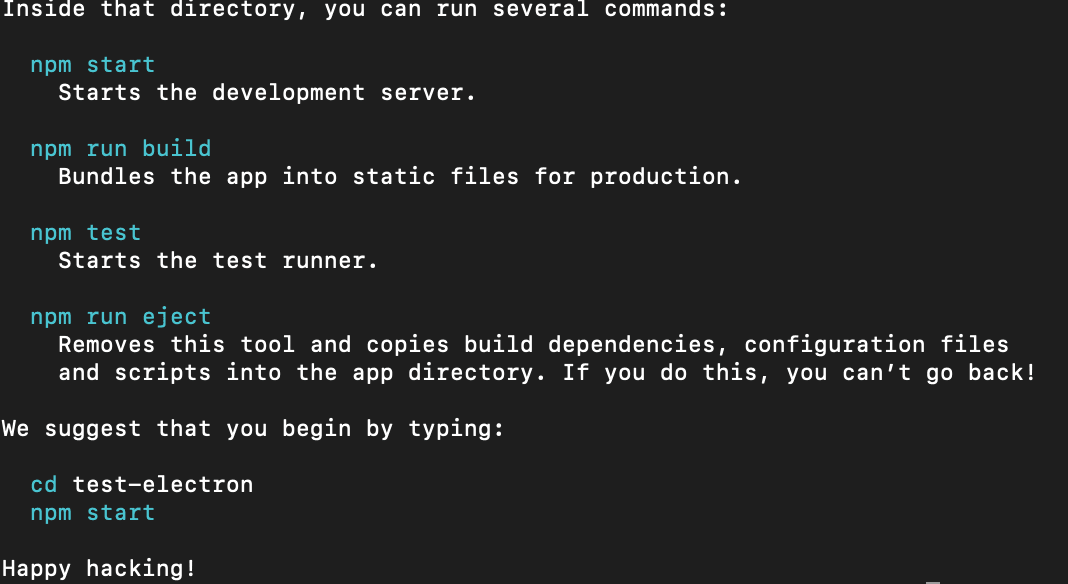
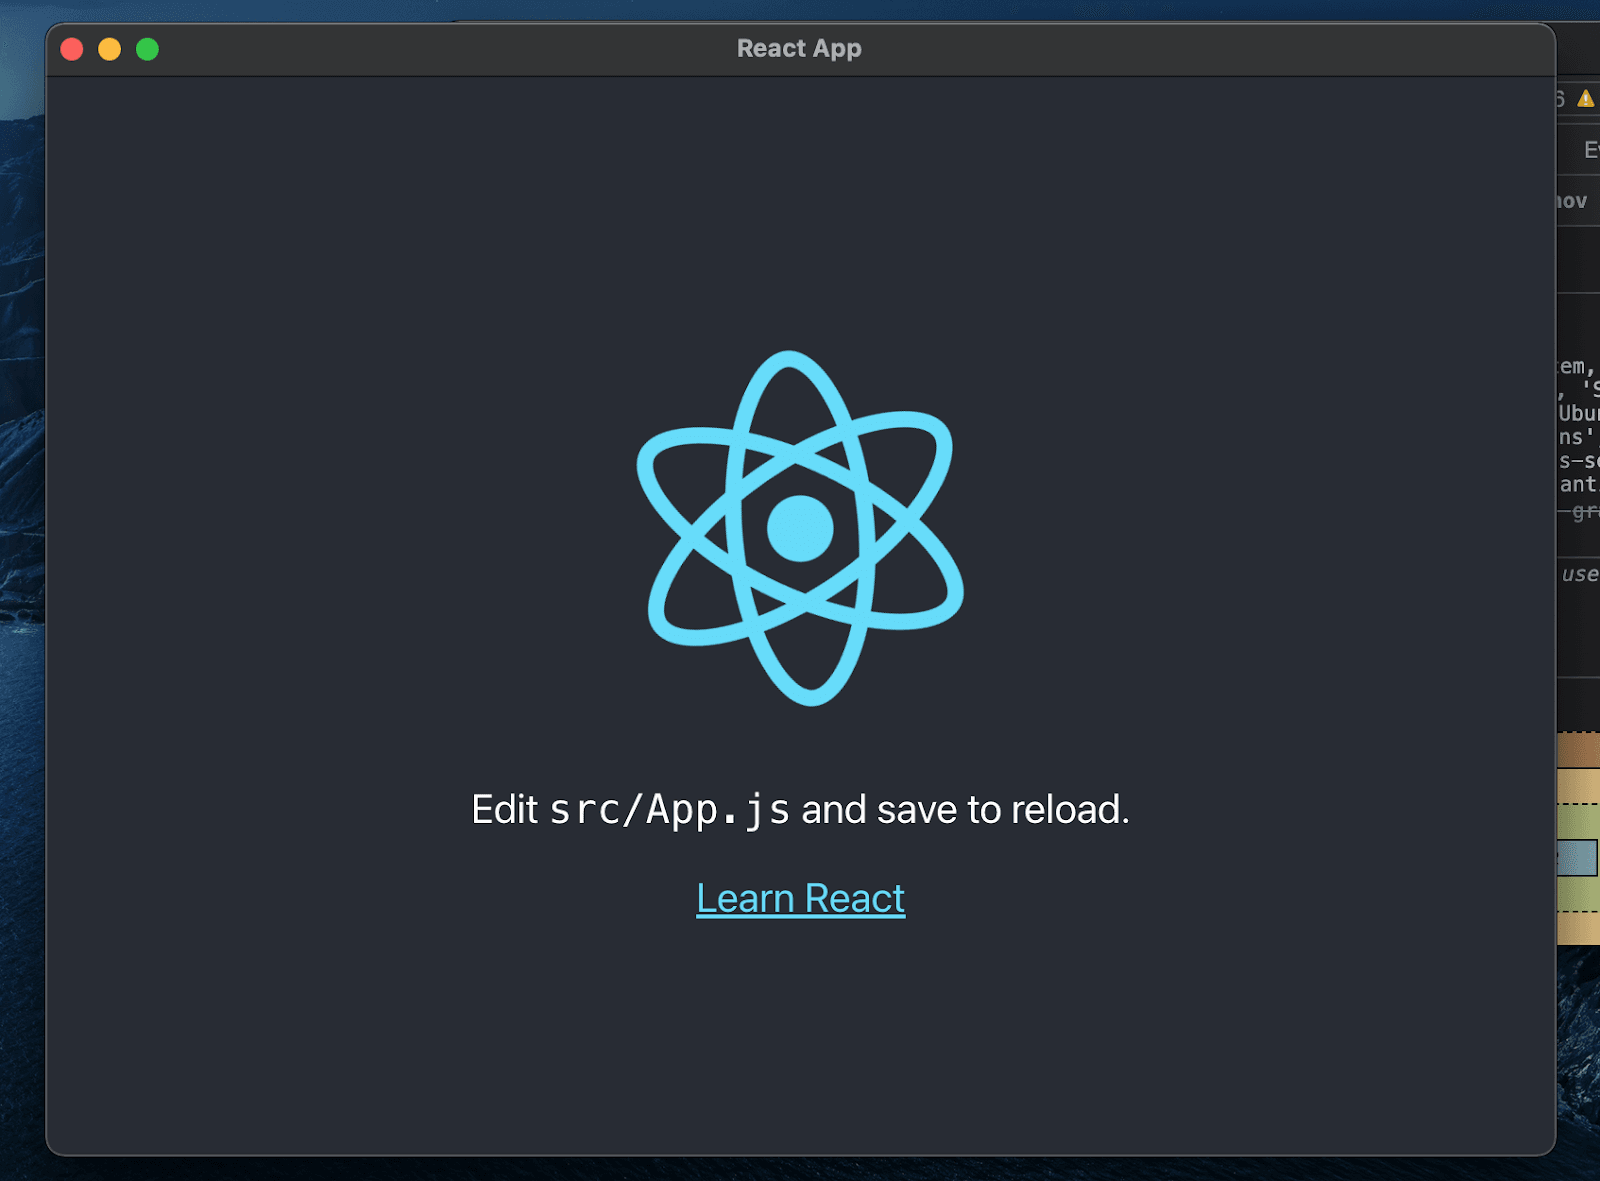
That's all just run these commands:
npm run start npm run start-electron
And we get:
 Click to expand
About Tray
The tray is also known as a system tray. To make it simple, it is a notification management space or menu, where various system features are located. It improves the user experience, positioning multiple tools in one place.
Now, we will mainly work on our electron.js file:
First import a couple of items from electron:
const { app, BrowserWindow, Tray, Menu, nativeImage } = require('electron');
Next we create a Tray and show the path for tray icon:
let tray = null;
tray = new Tray(nativeImage.createFromPath(`${__dirname}/tray.png`).resize({width: 25, height: 17}));
Then we build the menu and set the tray title and menu:
   const menu = Menu.buildFromTemplate([
       {
           label: 'Restart electron app',
           type: 'normal',
           click() {
               app.relaunch();
               app.exit();
           },
       },
       {
           label: 'Quit electron app',
           accelerator: 'Cmd+Q',
           click() {
               app.quit();
           },
       },
   ])

   tray.setToolTip('Title of our application');
   tray.setContextMenu(menu);
The whole electron.js file looks like this:
const { app, BrowserWindow, Tray, Menu, nativeImage } = require('electron');

let mainWindow;

const createWindow = () => {
   mainWindow = new BrowserWindow({
       width: 800,
       height: 600,
   });

   mainWindow.loadURL('http://localhost:3000');
   mainWindow.webContents.openDevTools({ mode: 'detach' });

   let tray = null;
   tray = new Tray(nativeImage.createFromPath(`${__dirname}/tray.png`).resize({width: 25, height: 17}));

   const menu = Menu.buildFromTemplate([
       {
           label: 'Restart electron app',
           type: 'normal',
           click() {
               app.relaunch();
               app.exit();
           },
       },
       {
           label: 'Quit electron app',
           accelerator: 'Cmd+Q',
           click() {
               app.quit();
           },
       },
   ])

   tray.setToolTip('Title of our application');
   tray.setContextMenu(menu);
};

app.whenReady().then(createWindow);

app.on('window-all-closed', () => {
   if (process.platform !== 'darwin') {
       app.quit();
   }
});
And after reloading the server you are going to get a drop-dpwn menu in the right conner with 2 options: to restart or to quit your ready-made app.
What the Deep Link Is
The next interesting thing that we want to tell you about - is the Deep Link in Electron. It is a link, used to set up a straightforward connection with an in-app spot, instead of a website. So let’s start to implement deep links in our Electron.
import path and dialog:
const path = require('path');
const {app, BrowserWindow, Tray, Menu, nativeImage, dialog} = require('electron');
Create deep link URL:
const deepLink = 'our-deep-link';
Next, we will proceed to register our application to handle all "our-deep-link://" protocols.
if (process.defaultApp) {
   if (process.argv.length >= 2) {
     app.setAsDefaultProtocolClient(deepLinkUrl, process.execPath, [path.resolve(process.argv[1])])
   }
 } else {
   app.setAsDefaultProtocolClient(deepLinkUrl)
}
Web preferences for Browser window:
       webPreferences: {
           nodeIntegration: true,
           enableRemoteModule: true,
           contextIsolation: false,
       },
Also, we need to add additional code for win/mac OS systems:
// Windows
const gotTheLock = app.requestSingleInstanceLock();
if (!gotTheLock) {
 app.quit();
} else {
 app.on("second-instance", (event, commandLine, workingDirectory) => {
   // Someone tried to run a second instance, we should focus on our window.
   if (mainWindow) {
     if (mainWindow.isMinimized()) mainWindow.restore();
     mainWindow.focus();
   }
 });

 app.on("open-url", (event, url) => {
   dialog.showErrorBox("Welcome Back", `You arrived from: ${url}`);
 });
}

// MacOs
app.on("open-url", (event, url) => {
 if (url !== null) {
   dialog.showErrorBox("Welcome Back", `You arrived from: ${url}`);
 }
});
Build an Application
The last step is to build our app for Mac. For building our application we will use “electron-builder”. It is used for creating a ready-to-distribution product for all desktop OS, as well as provides an “auto-update” option.
First, run the command:
npm install electron-builder --save-dev
And add a couple of things in package.json:
 "productName": "TestElectron",
 "homepage": "./",
 "author": "Me",
 "scripts": {
   "start": "export BROWSER=none && react-scripts start",
   "start-electron": "wait-on tcp:3000 && electron .",
   "build": "react-scripts build && electron-builder build --mac -c.extraMetadata.main=build/electron.js --publish never",
   "test": "react-scripts test",
   "eject": "react-scripts eject"
 },
"build": {
   "generateUpdatesFilesForAllChannels": true,
   "appId": "TestElectron.ID",
   "productName": "TestElectron",
   "copyright": "TestElectron",
   "extends": null,
   "protocols": [
     {
       "name": "our protocol",
       "schemes": [
         "our-deep-link"
       ]
     }
   ],
   "mac": {},
   "files": [
     "build/**/*",
     "node_modules/**/*"
   ]
 }
As a result, we updated our build script with Electron builder and added build options.
During the development-only stage, we will also use “isDev” for debugging.
npm install electron-is-dev electron.js file:
 mainWindow.loadURL(
   isDev
       ? 'http://localhost:3000'
       : `file://${path.join(__dirname, '../build/index.html')}`
   );

   if (isDev) {
       mainWindow.webContents.openDevTools({ mode: 'detach' });
   }
And the final result is:
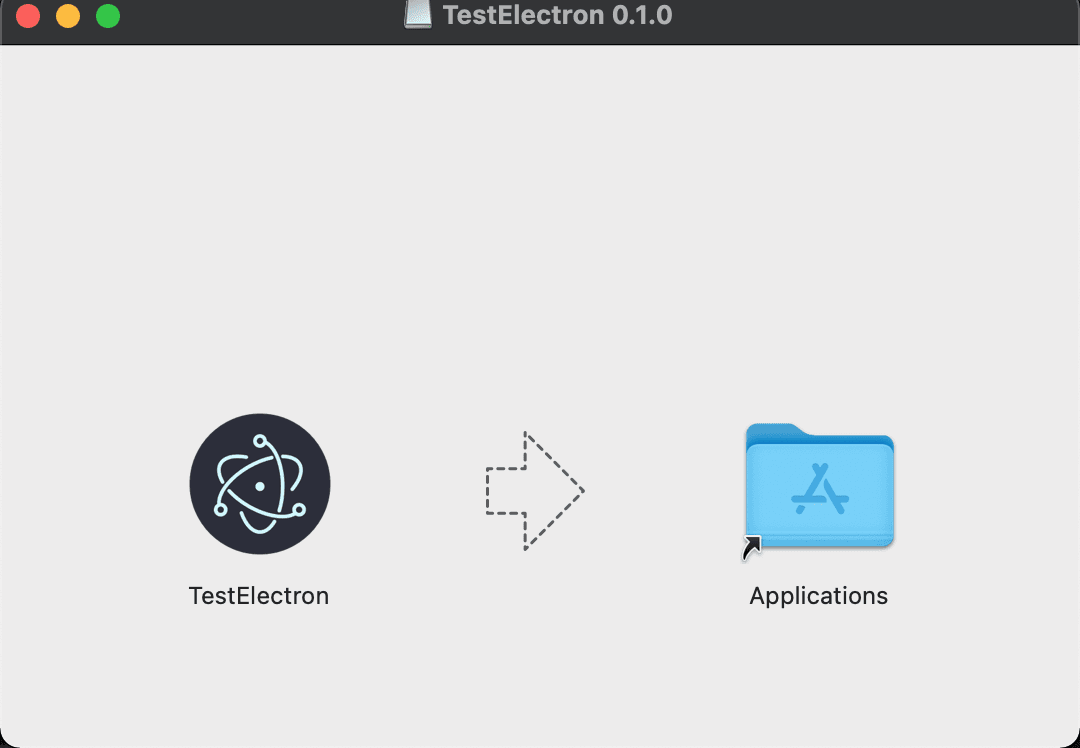 Click to expand
End Line
Here is a brief example of how to build a cross-platform app with the use of Electron. Clearly, there is a wide variety of other possible development approaches and final results. Yet, one of the main reasons was to attract attention to the Electron framework itself.
Undoubtedly, it is one of the finest frameworks for desktop application development. As with any technology, it is not perfect and full of its own strengths and weaknesses. All we can do is describe them and give you a piece of advice: do not use Electron for small or simple desktop applications.
As we mentioned before, it is very resource-intensive due to the Chromium engine, it is based on. However, it can be a great out-of-box solution for developing complex and scalable projects. In such cases, Electron can help to ensure high performance and give all the needed instruments to adjust your product to various platforms and act as native applications, if you find an experienced dedicated software development team.
FAQ


YOU MAY ALSO LIKE


Get in Touch
Got no clue where to start? Why don’t we discuss your idea?

Just pick a time. No forms.


This site uses cookies to improve your user experience. Read our Privacy Policy
Accept