


By Tetiana Stoyko
- CTO & Co-Founder
Intro to Microservices Communication [With Apache Kafka]
Solving a certain feature separately, working together microservices produce efficiency. Let's sort out one of the ways to deploy Microservices Communication.
When developing a new product, the first thing that comes to mind is how to structure code. There is a battle going on in this regard: monolithic vs microservices. It has been going on for a while since software developers and company owners are still trying to figure out which architectural style is ideal for their applications. The scalability, efficiency, and competitiveness of the product are determined by the strategy used – monolithic vs microservices. While monolithic systems have been used for a while, microservices are a comparatively modern form of software system structure. Indeed, a slew of technologies emerged under the DevOps mindset, allowing us to design scalable, distributed systems based on microservices.
One of the main advantages of a microservice architecture is that it makes it simpler to select the technological stack (programming languages, databases, etc.) that is most suited for the desired functionality (service) rather than being forced to take a more conventional, one-size-fits-all approach.
Even though such an innovational approach has its benefits, it doesn’t mean that it would be the best solution for each and every application. So let’s sort out in which cases deploying microservice architecture would be the right decision.
Microservices Use Cases
The difficulties that this technique overcomes are frequently not present while building the first version of an application. Furthermore, implementing a complex, distributed design will stymie progress. This may be a significant issue for startups, whose main task is frequently how to fast change the business model and associated application. However, when it comes to scaling and you need to employ functional deconstruction, the knotted interactions may make it tough to break down your monolithic application into a group of services.
On the other side, when your aim is to develop a sophisticated and scalable application – microservice architecture is what you need. Adopting new sophisticated tech stacks will be your greatest answer in the future if you want to add new functionality to your application and modernize it. The microservices strategy will come to your aid in this regard, particularly in gaining a competitive advantage.
“Read also: Detailed Tutorial on How to Build Micro Frontend Based on Angular”
How does Microservices Communication work?
The microservices design focuses on categorizing potentially huge and unwieldy programs. Every microservice is meant to solve a certain feature and function of an application, such as logging, data search, etc. Several of these microservices work together to produce a single efficient application.
Because it is typical for each service instance to operate as a distinct process, services must communicate via a process communication protocol. The strategies could be HTTP, AMQP, or a binary TCP protocol. It depends on the nature of your app.
Here is the division in a nutshell:
- Depending on the protocol type
Synchronous: stranded sub-processes, the system involves isolating each microservice as much as feasible.
Asynchronous: unlocked sub-processes and protocols that are interoperable with a wide range of operating systems and cloud settings are employed.
- Depending on the receivers number
Single – each request will be processed by a separate receiver or service.
Many – the structure of event-driven microservices is used.
But this is all theory, let’s move to the practice. Below we shared our insights on how to apply microservices communication with the use of Apache Kafka.
Practical Application of Microservices Communication using Apache Kafka
Apache Kafka is a considerably different choice since it is a message broker, it supports asynchronous message-based communication. Rather than performing synchronous HTTP requests and waiting for a response, we could simply consume an Apache Kafka.
Running Apache Kafka instance locally (Using Docker images)
In order to start an Apache Kafka server, first, we will need to start a Zookeeper server. But there is one way to make it simpler, for that we should create a simple Docker composition. Let’s create a folder called Apache Kafka with a single docker-compose.yml in it. Here is the code sample, that you need to write inside the file
‘docker-compose.yml’
.version: '2'
services:
zookeeper:
image: confluentinc/cp-zookeeper:latest
environment:
ZOOKEEPER_CLIENT_PORT: 2181
ZOOKEEPER_TICK_TIME: 2000
ports:
- 22181:2181
kafka:
image: confluentinc/cp-kafka:latest
depends_on:
- zookeeper
ports:
- 29092:29092
environment:
KAFKA_BROKER_ID: 1
KAFKA_ZOOKEEPER_CONNECT: zookeeper:2181
KAFKA_ADVERTISED_LISTENERS: PLAINTEXT://kafka:9092,PLAINTEXT_HOST://localhost:29092
KAFKA_LISTENER_SECURITY_PROTOCOL_MAP: PLAINTEXT:PLAINTEXT,PLAINTEXT_HOST:PLAINTEXT
KAFKA_INTER_BROKER_LISTENER_NAME: PLAINTEXT
KAFKA_OFFSETS_TOPIC_REPLICATION_FACTOR: 1
For making it run, you should have Docker installed. Find the installation link here.
The next step is to go to the folder with the file and run the composition using the command
‘docker compose up’.
After images are installed we have an Apache Kafka server running on the specified port:
Creating a microservice to produce Kafka events
Let’s start with generating a Nest application using the CLI:
`nest new event-producer-service`
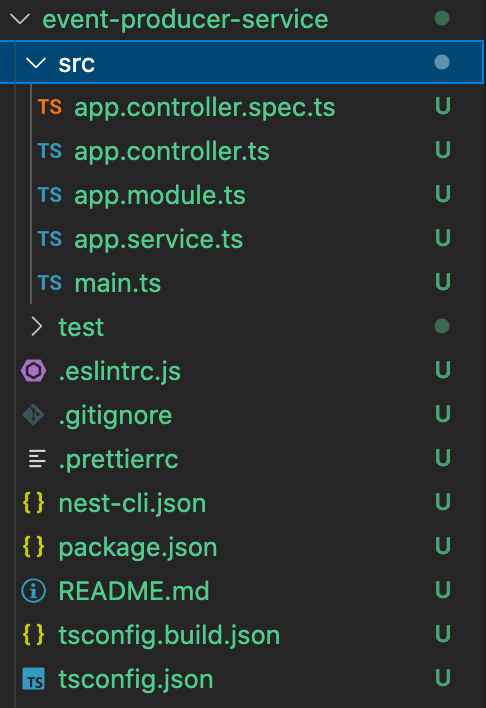
Now we have a simple Nest application. It looks like that:
At this stage, let’s add a package for Apache Kafka called ‘kafkajs’, and also ‘@nestjs/microservices’ to support microservices with Nest.
After that you need to run on the terminal command:
yarn add kafkajs
yarn add @nestjs/microservices
Let’s add Kafka events producer to the specific module where we need to send Kafka messages.
“Note: In our example, we are adding to the app module, but this can be implemented in any other module you need.”
We should add a provider to support Kafka messages. The code below is entered in the file
‘kafka-producer.provider.ts’.
import { Transport, ClientProxyFactory } from "@nestjs/microservices";
import { Producer } from "kafkajs";
const brokerURLs = ['localhost:29092'];

export const KafkaProducerProvider = {
  provide: "KafkaProducer",
  useFactory: (): Promise<Producer> => {
    const kafkaClient = ClientProxyFactory.create({
      transport: Transport.KAFKA,
      options: {
        client: {
          brokers: brokerURLs,
        },
        producer: {
          allowAutoTopicCreation: true,
        },
      },
    });

    return kafkaClient.connect();
  },
};
For now, we have hard-coded brokerUrls. But also, we used useFactory. This way in the future we will be able to inject a Config Service instance, for example, in order to provide currently hard-coded data.
Let’s add the provider to the app module. Here is the code for that:
import { Inject, Module, OnModuleDestroy } from '@nestjs/common';
import { AppController } from './app.controller';
import { AppService } from './app.service';
import { KafkaProducerProvider } from './providers/kafka-producer.provider';
import { Producer } from "kafkajs";

@Module({
  imports: [],
  controllers: [AppController],
  providers: [
    AppService,
    KafkaProducerProvider,
  ],
})
export class AppModule implements OnModuleDestroy {
  constructor(
    @Inject("KafkaProducer")
    private readonly kafkaProducer: Producer,
  ) {}

    async onModuleDestroy(): Promise<void> {
      await this.kafkaProducer.disconnect();
  }
}
After that, we can add a method to the service to send Kafka events and an endpoint for it. To do so, enter the ‘app.service.ts’ file to write some code.
import { Inject, Injectable } from '@nestjs/common';
import { Producer } from "kafkajs";

@Injectable()
export class AppService {
  constructor(
    @Inject("KafkaProducer")
    private readonly kafkaProducer: Producer,
  ) {

  }
  getHello(): string {
    return 'Hello World!';
  }

  async sendMessage(topic, data, key?) {
    return this.kafkaProducer.send({
      topic,
      messages: [
        {
          value: JSON.stringify(data),
          key,
        },
      ],
    });
  }
}
Then move to the ‘app.controller.ts’ file.
import { Body, Controller, Get, Post } from '@nestjs/common';
import { AppService } from './app.service';

@Controller()
export class AppController {
  constructor(private readonly appService: AppService) {}

  @Get()
  getHello(): string {
    return this.appService.getHello();
  }

  @Post('message')
  async sendMessage(@Body() body) {
    const { topic, data, key } = body;

    return this.appService.sendMessage(topic, data, key);
  }
}
Creating a microservice to consume Kafka events
Let’s generate a new app. For that, just use the command _nest new event-consumer-service_ and install the same packages as for producer service.
Now we can modify our ‘
main.ts
’ and connect our broker. So, go to the ‘main.ts
’ file and apply such piece of code.import { NestFactory } from '@nestjs/core';
import { MicroserviceOptions, Transport } from '@nestjs/microservices';
import { AppModule } from './app.module';
async function bootstrap() {
const app = await NestFactory.createMicroservice<MicroserviceOptions>(AppModule, {
transport: Transport.KAFKA,
options: {
client: {
brokers: ['localhost:29092'],
}
}
});
app.listen(() => { console.log('Microservices started.'); })
}
bootstrap();
Now we are going to create a handler for the specific event (test-topic). Open up an ‘app.controller.ts’ file for that. Below you’ll find the code sample:
import { Controller, Get } from '@nestjs/common';
import { MessagePattern, Payload } from '@nestjs/microservices';
import { AppService } from './app.service';

@Controller()
export class AppController {
  constructor(private readonly appService: AppService) {}

  @Get()
  getHello(): string {
    return this.appService.getHello();
  }

  @MessagePattern('test-topic')
  respondToTestTopic(@Payload() message) {
    console.log(message.value);
    return 'Hello World';
  }
}
Smoke test
Now let’s run our services. If everything is done well when we send POST requests to the producer app using topic test-topic, we’ll see the logs with our data in the consumer app.
To try how do they communicate, we send a request to Postman.
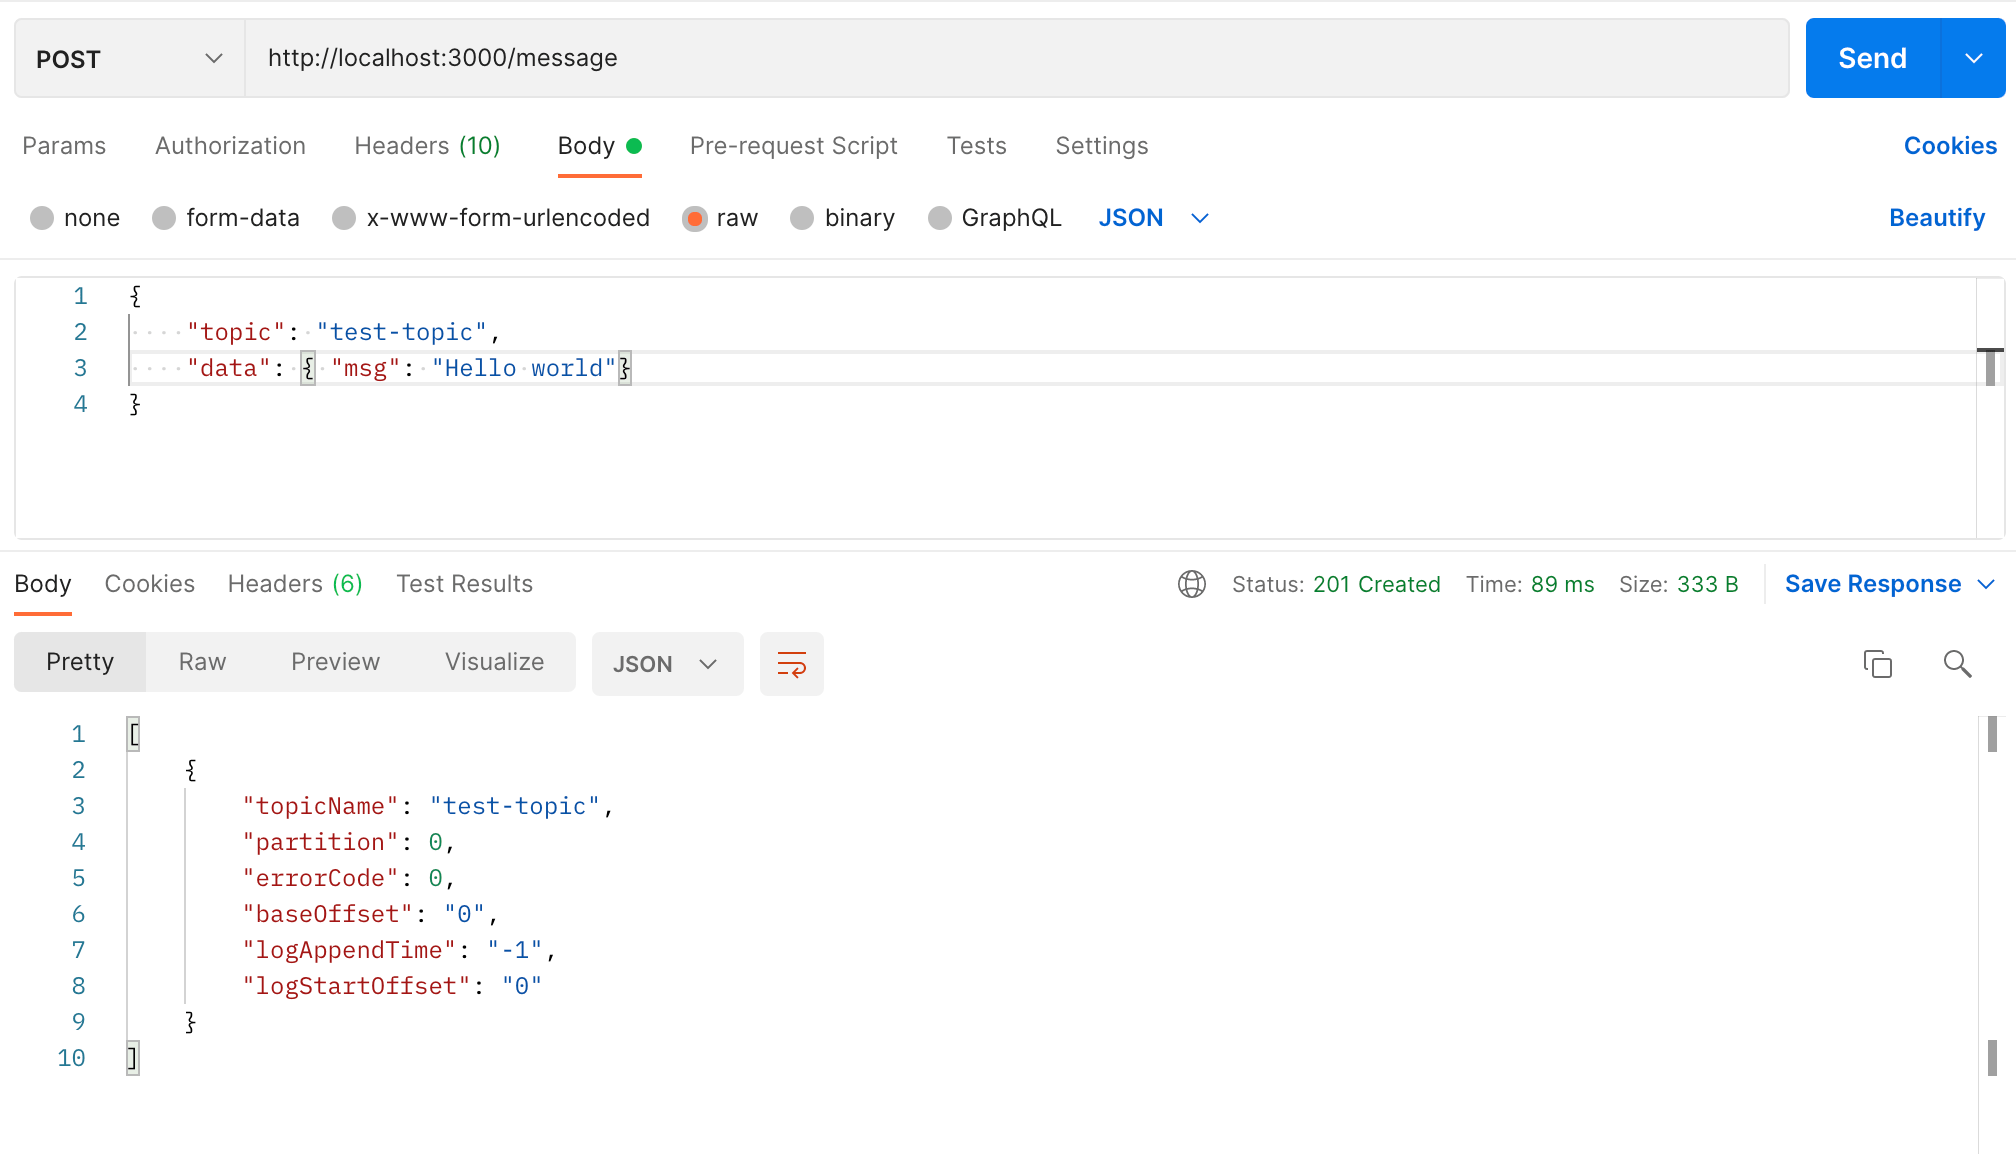
And then the request will appear to the producer service.
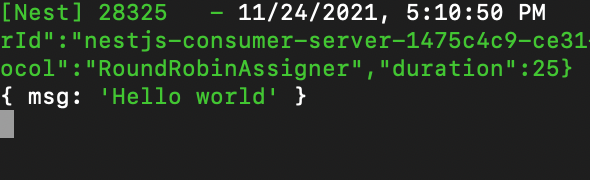
Hence, if your requests are running, you are successfully set up the communication between microservices. Just like that.
Concluding
Knowing the benefits and drawbacks of multiple architectures isn’t enough. It is critical to understand when to employ certain tools. Surely, there are a whole lot more options for microservices communication, both synchronous and asynchronous.
Our experience in implementing such a process with Apache Kafka is just one method among many others. Nevertheless, here we shared our personal insights with the code samples, that we hope might be useful for your development team. But if you are just at the beginning of this journey or might need help from our team, we would be glad to discuss it further. In that case, let’s contact and explore possibilities around microservice architecture integration.
FAQ
Let us address your doubts and clarify key points from the article for better understanding.


YOU MAY ALSO LIKE


Get in Touch
Got no clue where to start? Why don’t we discuss your idea?


This site uses cookies to improve your user experience. Read our Privacy Policy
Accept