


By Tetiana Stoyko
- CTO & Co-Founder
Bringing the power of Google Maps Integration: Step-by-Step Tutorial
Applying interactive maps feature might benefit various apps. Learn the full process of Google Map API integration in this guide.
It is hard to imagine modern everyday life without Google Maps or other online mapping applications. They have proven their usefulness: you can choose a restaurant, find the best hotel, look for the nearest market, etc. In fact, they are a great tool not only for travelers but can help to better orient even the locals. For instance, to find new locations or to find the way from the outskirts.
Nevertheless, Google maps are not only a regular map application for routine life. Actually, it is a very important instrument in various industries such as Logistics or eCommerce. Obviously, it is used to pave routes and track the position of freight forwarders. Also, it can be used as a GPS for the driver and is an important tool for ETA, which is one of the most essential aspects of the whole logistics sphere.
Clearly, such apps as Google Maps are important instruments both for regular users and businesses. In addition to the foregoing, most modern taxi applications such as Uber or Bolt are using them as well. Moreover, they are crucial for these industries.
Summing up all the above, it is obvious that online apps have already become a vital element of everyday life, which impacts both common users and different industries and businesses in the field of logistics, commerce, delivery, and shipping.
Therefore, it is worth understanding how such integrations work and how can they be implemented into third-parties applications. The best way to do so - is to consider an example.
Google Maps Integration
Nowadays, Google Maps is one of the most popular online mapping apps in the world. Moreover, they are quite negotiable and have fewer requirements than their alternatives. This is why it is a great option to consider.
Additionally, Google Maps are easily upgraded and customized. As a result, users can use its normal version or make the changes and corrections that meet their needs. Of course, you can’t change the shape of the continent, because these customization options are limited. However, there are various virtual assets like markers, pins, etc. Obviously, they are not real, therefore can be changed by the user. Finally, some UI components can be changed as well, in order to make the integration more usable.
Google Maps implementation is possible in the form of API integration. Actually, Google is a very experienced player in the API market: most of its services have API integration options. For instance, we have previously discussed the use cases for Google Drive.
Getting Started
Let’s try to use Google Maps with a simple React.js app. First things first, to have the possibility to use Google Maps API, you have to claim an API token. It is possible to do on the Google Developers Console. Only after doing so, can we start developing or upgrading the application. Moreover, there you can find documentation and essential code samples, without wich it is impossible to correctly integrate Google Maps. As a result, some following code samples were taken directly from Google Maps Platform.
First of all, create your React app.
npm init react-app my-app
Of course install @googlemaps/react-wrapper
npm install @googlemaps/react-wrapper
After all is done you can check your package.json file to check what version is installed. Afterward, we can start coding.
First of all, you have to import library components:
import { Wrapper, Status } from "@googlemaps/react-wrapper";
The basic purpose of this component is to wrap components that use the Maps API. This component can also use a render prop for rendering loading components or handling errors in loading.
const render = (status: Status) => (<div>{status}</div>);

<Wrapper apiKey={"YOUR_API_KEY"} render={render}>
  <ChildComponent/>
</Wrapper>
Note: Make sure to use YOUR API token kere!
The map component must be added with the following signature:
const Map: React.FC<{}> = () => {};
What is important is that google.maps.Map requires an Element as a constructor parameter. The useRef is used to track a mutable object, which will exist for the lifetime of the component. The next code creates a map within the useEffect hook in the body of the Map component.
const ref = React.useRef(null);
const [map, setMap] = React.useState();

React.useEffect(() => {
  if (ref.current && !map) {
    setMap(new window.google.maps.Map(ref.current, {}));
  }
}, [ref, map]);
This hook only runs when the ref has changed. Then, the Map component returns this:
return <div ref={ref} />
Actually, Google Maps API has some additional great features worth mentioning. For instance, the developer can constantly upgrade and expand the map component with various additional props. Feel free to play with map options, event listeners, and styles applied to the div containing the map.
interface MapProps extends google.maps.MapOptions {
  style: { [key: string]: string };
  onClick?: (e: google.maps.MapMouseEvent) => void;
  onIdle?: (map: google.maps.Map) => void;
}

const Map: React.FC<MapProps> = ({
  onClick,
  onIdle,
  children,
  style,
  ...options
}) => {}
Styles can be passed through as a prop on the div.
return <div ref={ref} style={style} />;
Some events like onClick, onIdle and MapOptions require useEffect hooks to apply updates to the map.
// because React does not do deep comparisons, a custom hook is used
// see discussion in https://github.com/googlemaps/js-samples/issues/946
useDeepCompareEffectForMaps(() => {
  if (map) {
    map.setOptions(options);
  }
}, [map, options]);
- For event listeners, in order to work we have to be able to clear existing listeners when a handler has been updated.
- For event listeners, in order to work we have to be able to clear existing listeners when a handler has been updated.
React.useEffect(() => {
  if (map) {
    ["click", "idle"].forEach((eventName) =>
      google.maps.event.clearListeners(map, eventName)
    );
    if (onClick) {
      map.addListener("click", onClick);
    }

    if (onIdle) {
      map.addListener("idle", () => onIdle(map));
    }
  }
}, [map, onClick, onIdle]);
Finally, after all of these actions you will be able to see a regular Google Maps in your application.
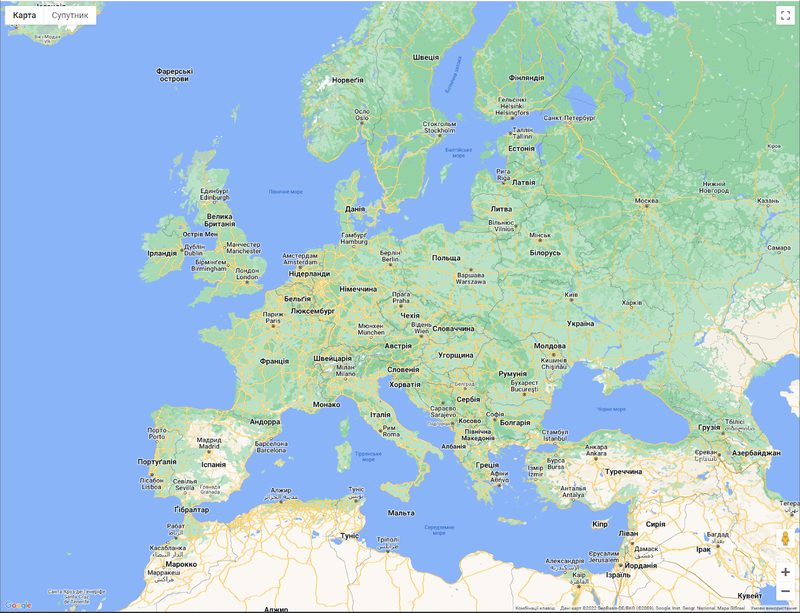 Click to expand
Creating Map Markers
One of the most simple features, provided by Google Maps is the opportunity to add, edit and remove markers.
Markers are used to identify the specific location on the map. They are a type if virtual overlay. Its component uses similar patterns as the map component with the hooks.
const Marker = (options) => {
  const [marker, setMarker] = React.useState();

  React.useEffect(() => {
    if (!marker) {
      setMarker(new google.maps.Marker());
    }

    // to remove marker from map on unmount it:
    return () => {
      if (marker) {
        marker.setMap(null);
      }
    };
  }, [marker]);
  React.useEffect(() => {
    if (marker) {
      marker.setOptions(options);
    }
  }, [marker, options]);
  return null;
};
Interesting fact is that the component returns null as Map manages the DOM manipulation under the hood.
Now we can add markers as a child component of the map:
<Wrapper apiKey={"YOUR_API_KEY"}>
  <Map center={center} zoom={zoom}>
    <Marker position={position} />
  </Map>
</Wrapper>
Then, you have to make some small changes to the Map component:
return (
  <>
    <div ref={ref} style={style} />
    {React.Children.map(children, (child) => {
      if (React.isValidElement(child)) {
        // to set the map prop on the child component:
        return React.cloneElement(child, { map });
      }
    })}
  </>
);
Finally we can see a marker appearing on our map:
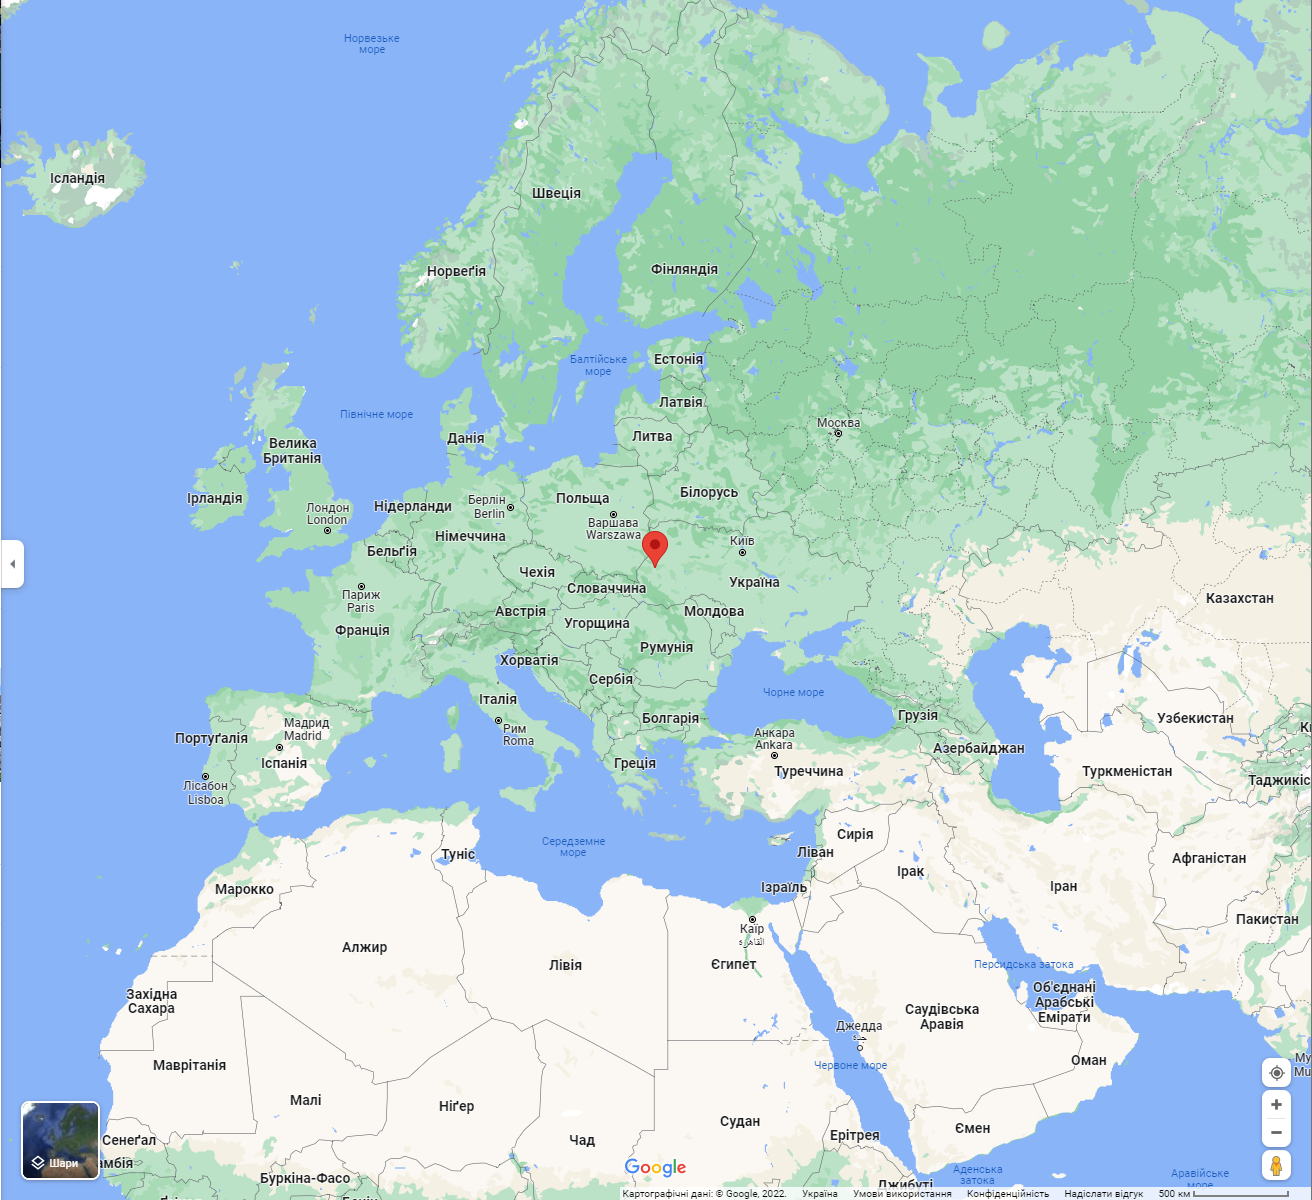 Click to expand
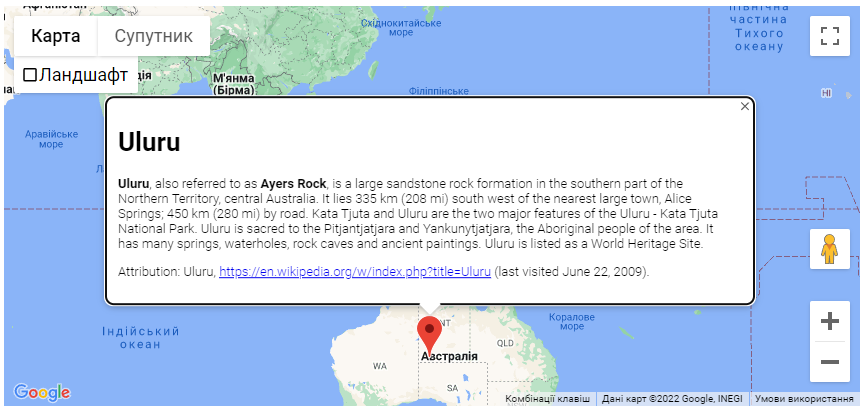 Click to expand
The InfoWindow component takes an options object, which specifies the initial parameters for displaying the info window.
 const contentString ="5th Floor, A-118,Sector-136,"+
                             " Noida, Uttar Pradesh - 201305"


;
  const infowindow = new google.maps.InfoWindow({
    content: contentString,
  });
Then you add click listener on marker and open infowindow:
marker.addListener("click", () => {
    infowindow.open({
      anchor: marker,
      map,
      shouldFocus: true,
    });
  });
Map Customization
Finally, another great feature is styling. This feature allows the developers to change colors, localizations, or hide destructing data from your map. In fact, it provides all the possible customization options. You can create your own set of styles in the online editor provided by Google on the ‘Map Styles’ page. For example, we can remove country names, borders, and roads and get this simple style set:
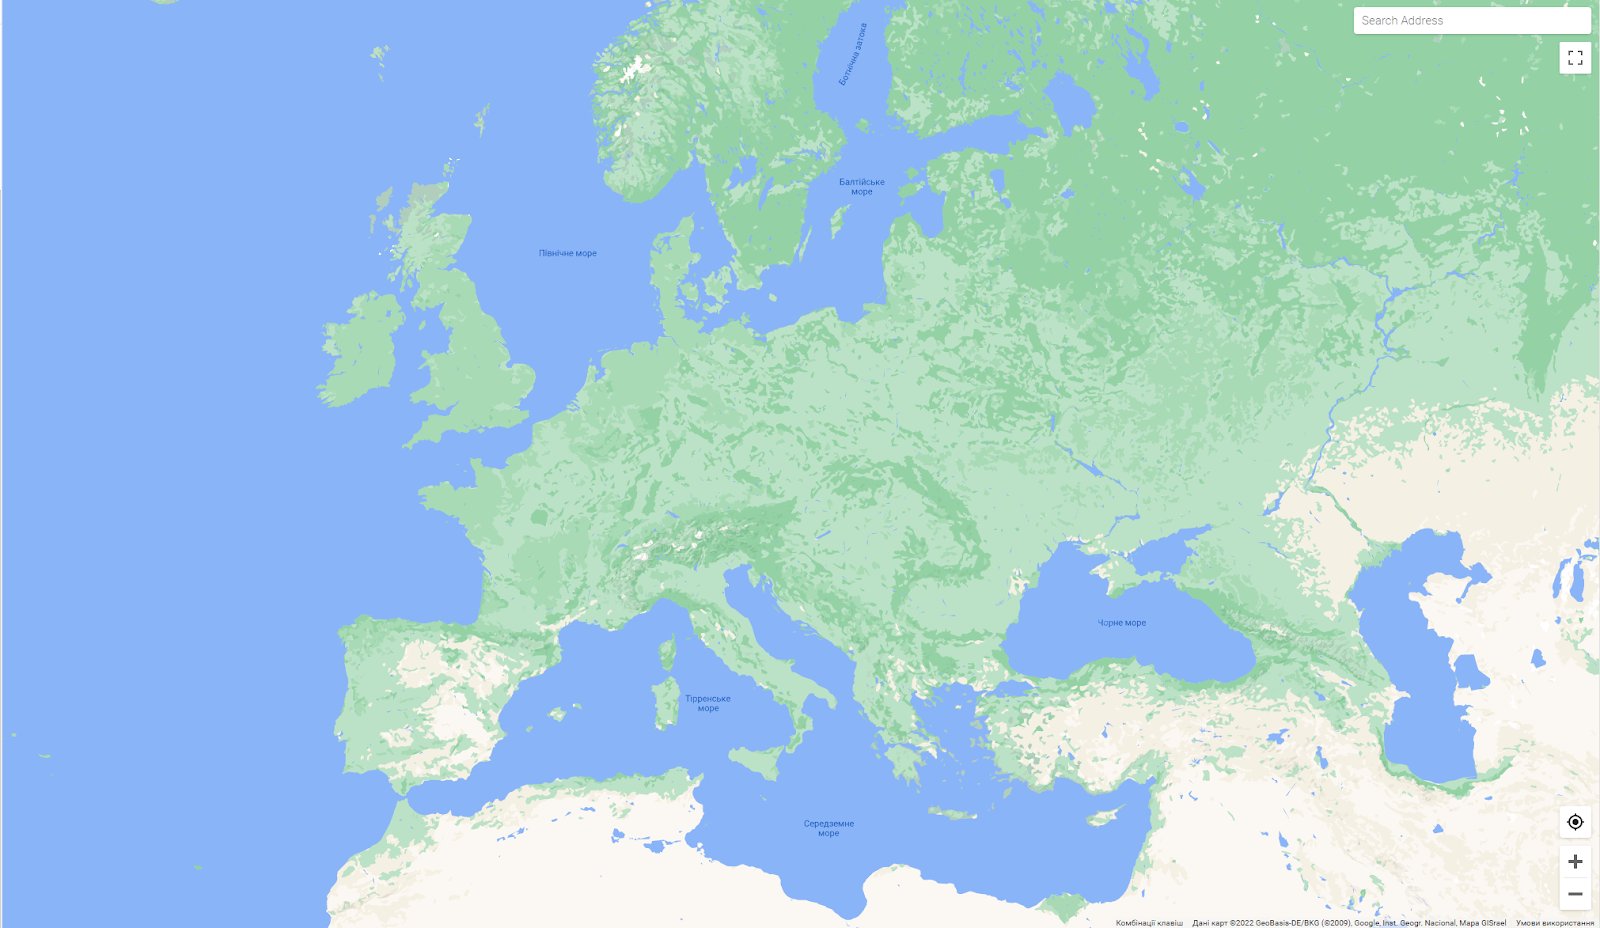 Click to expand
Now, we have created a custom map style. The next step is to create a linkage between it and the Map ID. Frankly, the same styling can be used multiple times, connected to various maps, and the most important - across different applications. To do so, you have to:
- Choose a style on the Map Styles page.
- Select one of two options: first - Add Map IDs button (for styles with no associated map IDs), and second - pick up a pencil icon (for styles that already have at least one associated map ID.) Both options should open the Add / Edit Map IDs pane.
- Check the box next to a map ID to link it with the chosen style; Uncheck it if you want to remove the linkage.
- Save the changes.
_P.S. Do not forget to add your Map ID: _
<Map center={center} zoom={zoom} mapId={"YOUR_MAP_ID"}>
Summary
Eventually, the foregoing tutorial is a very simplified version. Of course, following it you can create and upgrade your own Google Maps API and implement it into your application. Nevertheless, there are many more various features and options possible. Moreover, integration is not the final process. Clearly, the final product must be also checked and fixed if needed. Also, do not forget about updating it.
If you wonder how to enable these “various features and options” on the code level, or looking for an experienced team, that can help you develop and upgrade your app - we would gladly help you!
FAQ


YOU MAY ALSO LIKE


Get in Touch
Got no clue where to start? Why don’t we discuss your idea?

Just pick a time. No forms.


This site uses cookies to improve your user experience. Read our Privacy Policy
Accept